
How To Carve A Pumpkin | Step By Step
Use this guide for ideas on how to carve a pumpkin. We’ll outline each step of how to carve a pumpkin perfectly.

Ok so the leaves are changing color, you can finally wear jeans again, and you have an excuse to buy a giant bag of candy; yup, it’s Fall. Somewhere on your to-do list is pumpkin carving, and while you’re browsing for creative ideas of what to carve, it’s important to know all of the steps prior to carving out your masterpiece.
5 Steps To Carve A Pumpkin
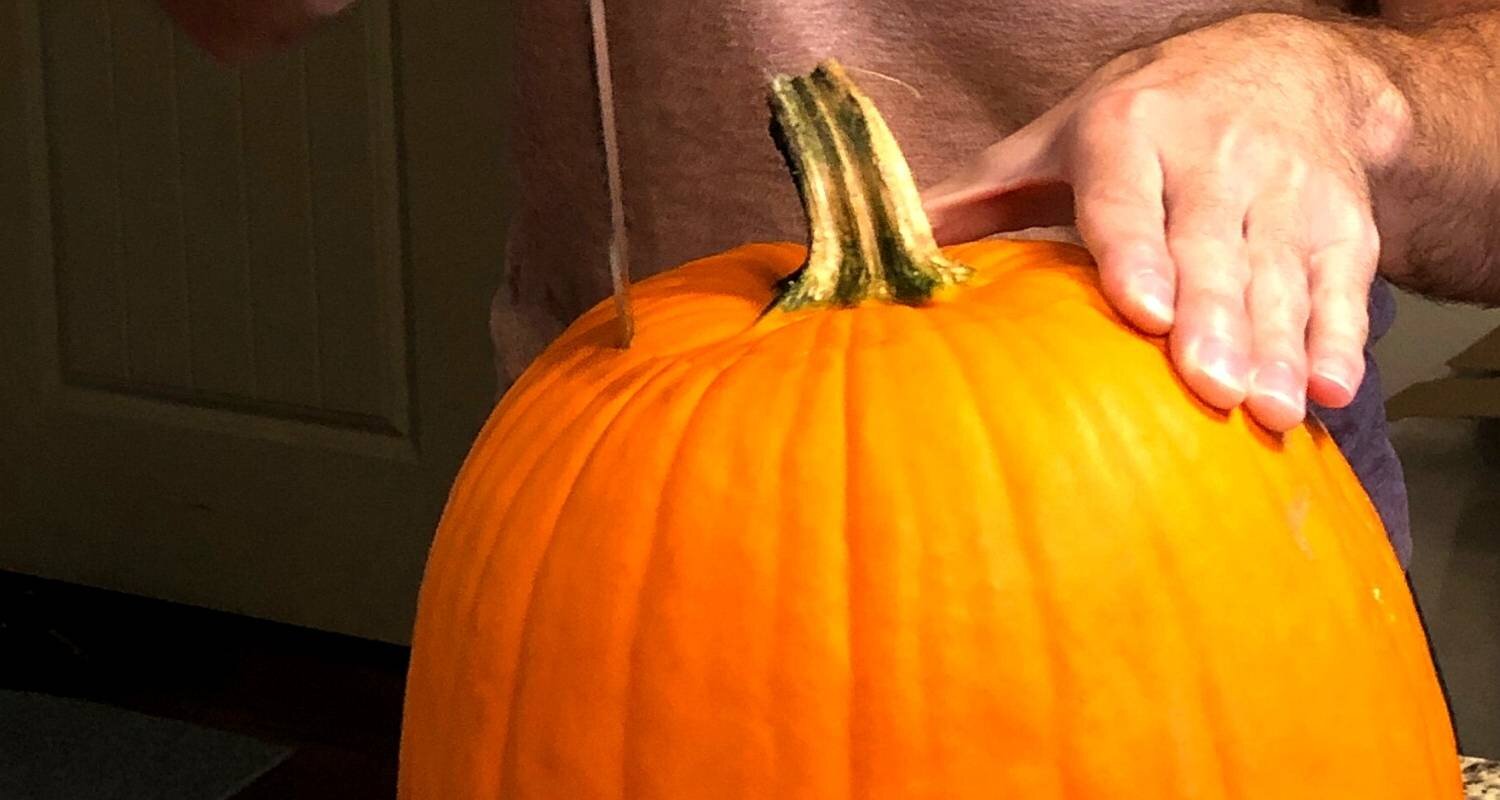
1. Cut Open The Top
Use a sharp and sturdy knife to cut a round hole in the top of the pumpkin. Cut at 45 degree angle to ensure that the lid fits back on easy. Cut this hole halfway between the stem and the edge of the pumpkin.
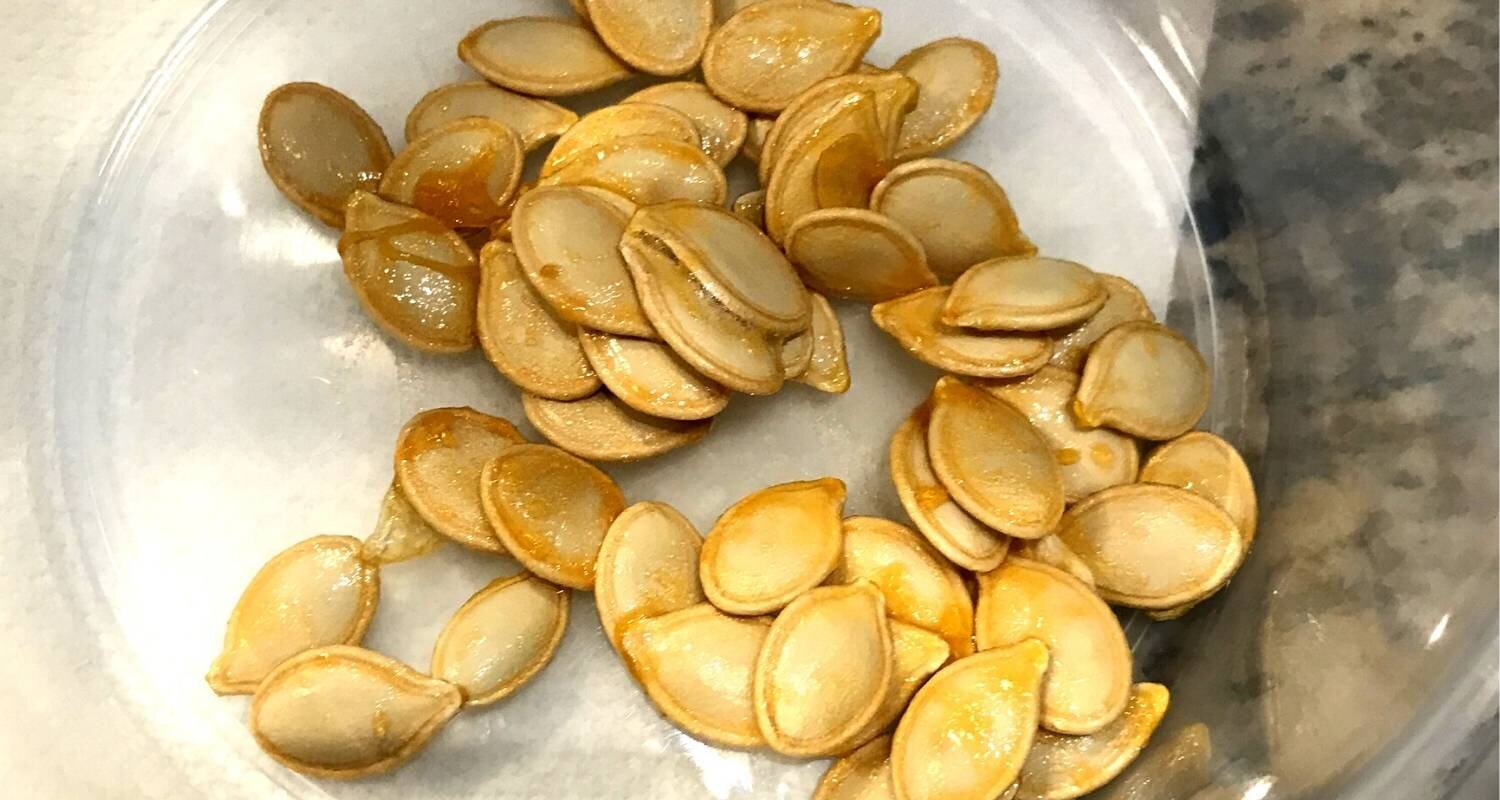
2. Take Out The Pumpkin Seeds
Remove the lid, and then use your hands or a spoon to grab out all of the pumpkin seeds. Set them aside in a bowl to make roasted pumpkin seeds later.
3. Scrape Out All Of The Pulp
Use a large metal spoon to scrape out all of the pulp. Drag it along the insides of the pumpkin to get as much out as possible.

4. Draw Your Design On The Front An Carve It
Draw your design on the best side of the pumpkin with a pen, pencil, or knife. Then use a sharp and sturdy knife to cut out the design.

5. Final Touches
At this point you can add any final touches including extra carvings, painting, or accessories. Then place a tea light candle in the pumpkin, light it up, and place the lid back on.
